Solenoid Troubleshooting and Replacement: A Step-by-Step Guide
A lawn tractor refusing to start can be frustrating, but often the problem is a simple, easily replaceable part: the solenoid. This instructional guide provides step-by-step instructions for diagnosing and replacing your lawn tractor's solenoid, getting you back to mowing in no time. We'll keep it straightforward, using clear language and avoiding unnecessary jargon. For more detailed diagrams, check out these tractor manuals.
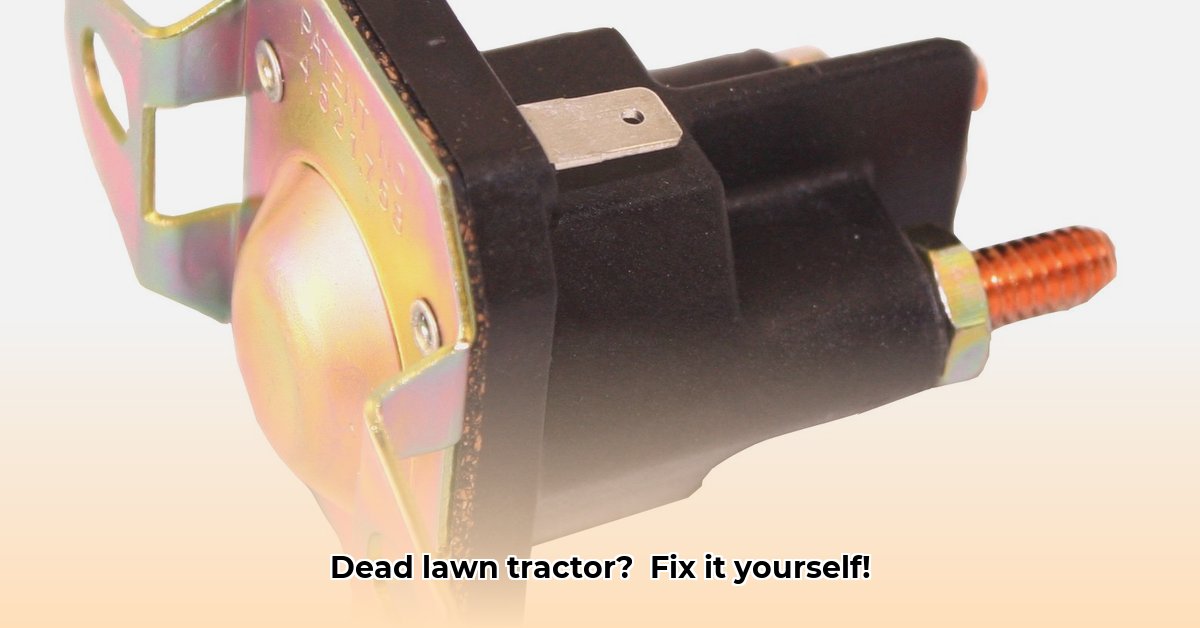
Understanding Your Lawn Tractor's Solenoid
The solenoid acts as an electrical switch, connecting the battery to the starter motor. When you turn the key, a small electrical signal activates the solenoid, triggering a much larger current flow to crank the engine. Inside, a coil and plunger mechanism complete this action. Over time, these components can wear out, especially under harsh operating conditions. A faulty solenoid is often indicated by a clicking sound when the ignition is turned but the engine fails to start. Did you hear that click? That's your solenoid trying to engage – but failing.
Is It Really the Solenoid? Diagnosing the Problem
Before replacing the solenoid, let's ensure it's the actual culprit. These simple checks will save you time and effort:
Battery Voltage Check: A weak battery can mimic a faulty solenoid. Use a voltmeter to check the battery voltage. A reading below 12 volts points to a dead or weak battery needing replacement or recharging. Does your tractor's starting power seem weak overall? This could also point to a failing battery.
Listen for the Click: Turn the key. A distinct clicking noise usually signals the solenoid attempting engagement, but failing to deliver sufficient power to the starter. This is a strong indicator of a failing solenoid. Is there absolutely no sound at all when the key is turned? Then we need to look into other potential issues, like blown fuses.
Direct Solenoid Test (Advanced): For those comfortable with basic electrical testing, a multimeter can directly test the solenoid's power. This requires understanding electrical safety precautions and your tractor’s wiring diagram. If power reaches the solenoid but it doesn't activate, the solenoid is likely defective. Consult your owner’s manual or a qualified mechanic if unsure about this step.
Replacing Your Lawn Tractor Solenoid: A Step-by-Step Guide
Once a faulty solenoid is confirmed, replacing it is relatively straightforward. Remember—safety first! Always disconnect the negative (-) battery terminal before working with electrical components.
Locate the Solenoid: The solenoid is typically near the starter motor. Your owner's manual will have a diagram showing its location.
Disconnect Wiring: Carefully detach the wiring harness from the solenoid. Take photos or make detailed notes to ensure correct reconnection. This is extremely important!
Remove the Solenoid: Unbolt the solenoid from its mounting bracket and carefully remove it.
Install the New Solenoid: Mount the new solenoid securely in the same location, ensuring a snug fit.
Reconnect Wiring: Reconnect the wiring harness, referencing your photos or notes. Double-check secure connections.
Reconnect the Battery: Carefully reconnect the negative (-) battery terminal.
Test the Tractor: Attempt to start the tractor. Success!
Choosing the Right Replacement Solenoid
Selecting the correct replacement solenoid is critical. Using an incompatible solenoid can cause further damage. Always consult your owner's manual for the correct amperage and voltage rating. While aftermarket solenoids are available, they may not match the performance and durability of original equipment manufacturer (OEM) parts.
Preventative Maintenance: Extending Solenoid Lifespan
Regular maintenance significantly extends solenoid lifespan. Periodically clean the solenoid terminals, removing any corrosion or dirt. Address any moisture issues promptly. Regularly inspect your battery connections for corrosion, too. This will prevent a lot of headaches in the long run!
Common Solenoid Problems and Solutions
| Problem | Possible Causes & Solutions |
|---|---|
| Solenoid doesn't engage | Weak or dead battery, blown fuse, faulty wiring, or a bad solenoid. Check battery voltage, fuses, and wiring. Replace the solenoid if necessary. |
| Weak or intermittent engagement | Weak battery, loose connections, or a failing solenoid. Check battery, connections, and replace the solenoid if needed. |
| Solenoid overheating | Short circuit in the wiring, poor ventilation. Inspect wiring for shorts and ensure proper airflow. Replacing the solenoid might also be necessary. |
Remember, working with electricity involves inherent risks. If you're uncomfortable with any step, seek assistance from a qualified mechanic or refer to your owner’s manual.